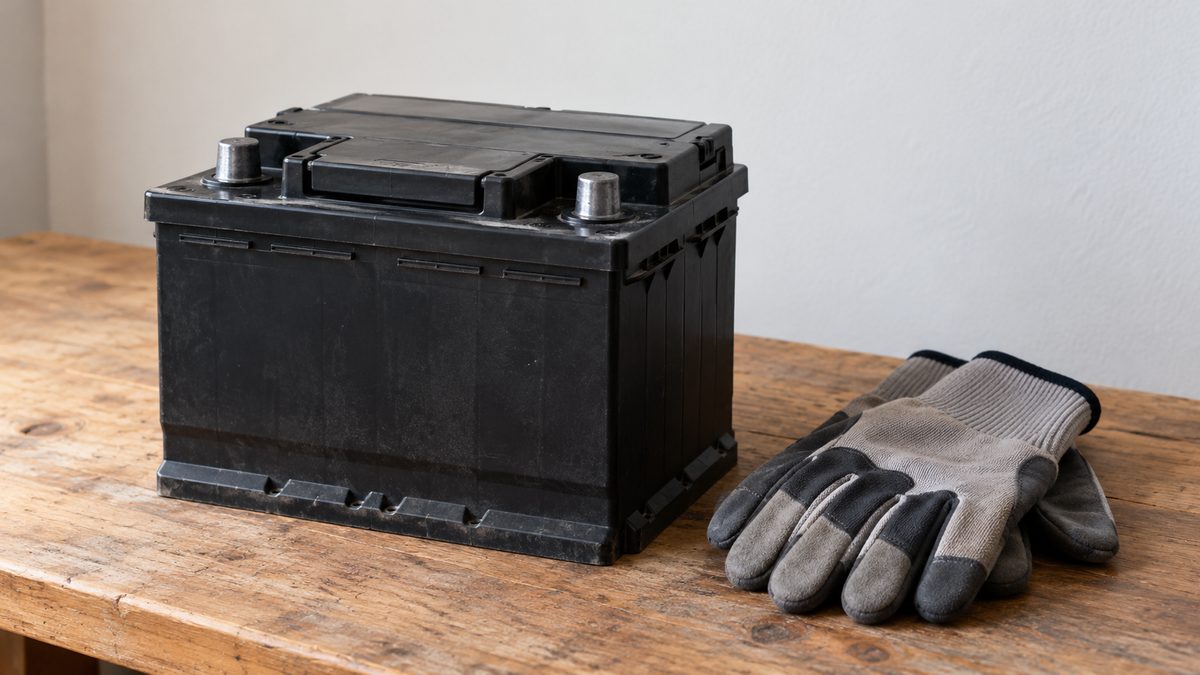
Changing a car battery at home can be manageable when the battery is accessible and the manual permits it. The connection order matters: negative off first, positive back on first. Arrange dealer fitting if you cannot identify the terminals, lift the weight comfortably or complete the vehicle’s electronic setup.
Check that replacement is the right repair
A flat battery may need charging rather than replacing. Loose connections, a charging fault or an accessory left connected can produce similar starting trouble. Use our guide to testing a car battery before buying. A workshop load or conductance test is useful when resting voltage looks reasonable but the engine still cranks slowly.
This procedure concerns a conventional negative-earth 12V starter battery. It does not cover hybrid or EV high-voltage systems, unusual electrical layouts or inaccessible batteries. Do not touch orange high-voltage cables. Consult the vehicle manual for its shutdown delay, approved procedure and any special equipment before you begin.
Match the battery and gather tools
Confirm the case dimensions, terminal positions, hold-down arrangement, capacity and starting specification with the dealer. Start-stop vehicles may need an AGM or EFB battery. Some modern cars require registration of the replacement using a scan tool, so the charging system recognises it. VARTA’s battery registration guidance explains why requirements differ between vehicles.
Have correctly sized spanners or sockets, suitable protective gloves, eye protection and a battery-terminal cleaning brush ready. Remove rings, watches and other metal jewellery. Keep flames, cigarettes and sparks away. Batteries are heavy and contain acid; a leaking, cracked or swollen one needs professional attention rather than a home replacement attempt.
| Stage | Order or check | Reason |
|---|---|---|
| Before removal | Switch off, remove key, follow shutdown delay | Let vehicle electronics shut down |
| Disconnect | Negative, then positive | Reduce accidental shorting to bodywork |
| Lift out | Remove retaining clamp; keep upright | Avoid injury and acid spills |
| Install | Secure battery; positive, then negative | Restore connections in the safe sequence |
| Finish | Check setup and dealer recycling | Complete the job beyond starting the engine |
Switch off and disconnect negative first
Park on level ground, apply the parking brake and switch off lights and accessories. Remove the key and keep a smart key away from the car. Unplug the inverter and other portable accessories. Follow the manual’s waiting period. Never disconnect a battery with the engine running, and do not improvise a memory saver to keep circuits powered.
Identify the negative terminal by its minus marking; the cable is usually black. Loosen its clamp with the correct spanner, lift the cable clear and secure it so it cannot spring back. Then disconnect the positive cable, usually red and marked plus. Never bridge both terminals with a tool, or allow a tool on the positive terminal to touch bodywork.
Remove the clamp and lift upright
Undo the battery retaining clamp or base bracket and keep its fasteners together. Note any vent tube and its routing, following the manual for removal. Use the proper carrying handle if fitted. Lift with both hands, keeping the case upright and clear of cables. Ask for help if the reach or weight makes a controlled lift difficult.
Put the old battery upright on a stable surface where children and pets cannot reach it. Inspect the tray and cable clamps. Clean accessible terminal contact surfaces using suitable battery-cleaning equipment while both cables are disconnected. Keep debris and cleaning liquid away from electronics. Extensive corrosion, damaged cables or a deteriorated tray should be repaired by a workshop.
Secure the new battery and reconnect
Lower the matched replacement into the tray in the original orientation. Refit the retaining clamp and any required vent connection according to the manual. The battery must sit securely without excessive force on its case. Remove transport terminal covers only as needed for installation and keep tools away from exposed posts.
Connect the positive cable first, then the negative cable. Tighten the terminal clamps to the specified torque without hammering them onto the posts. Refit protective covers. Exide’s replacement guide confirms this reconnection order. Check that cables are secure, routed correctly and clear of moving parts before attempting a start.
Finish setup and return the old battery
Restore clock or radio settings and follow any window relearning instructions. Have required battery registration completed with the appropriate scan tool. Persistent warning lights, difficult starting or an insecure connection need a workshop check. Keep the replacement invoice and installation date for warranty records and future testing.
Return the old battery upright to the dealer for recycling; never put it in household rubbish. If extended parking caused the problem, discuss a suitable maintainer or read about a car battery cut-off switch before modifying anything. EchoRepel’s inverter displays input voltage for accessory use, but it cannot replace a battery-health test or repair a starting fault.