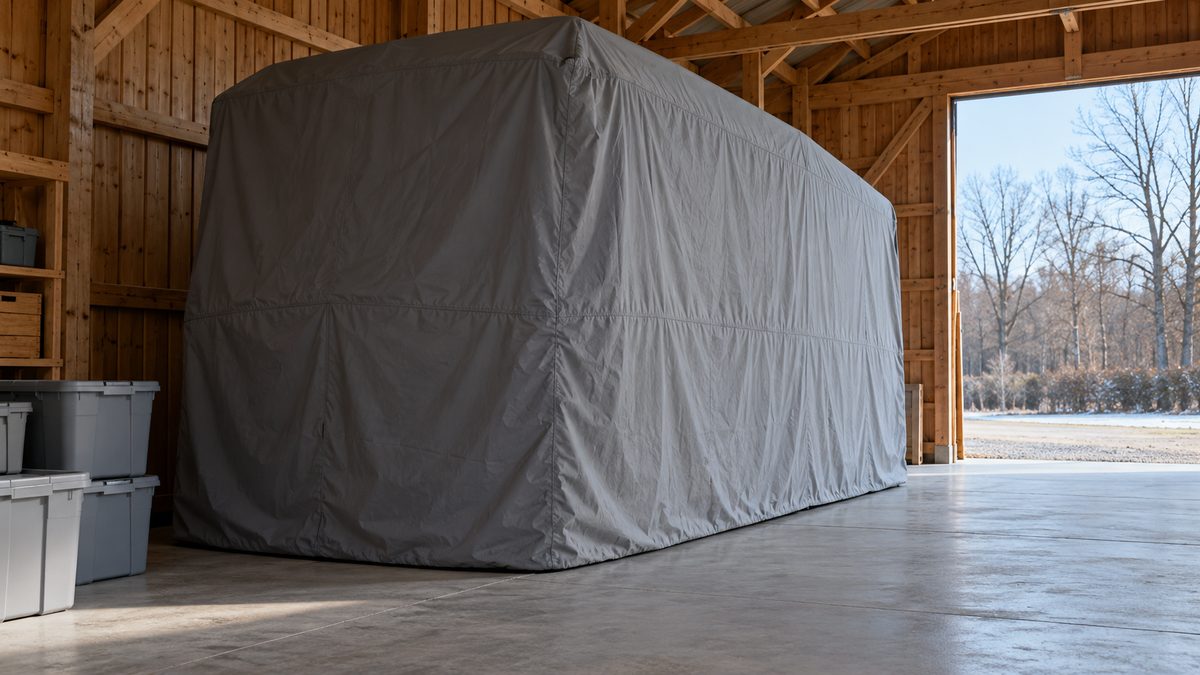
Prepare an RV for winter storage before it becomes a quiet place with food left in the cabinets. Remove supplies, inspect the underside and repair suitable entry gaps. Then arrange checks through winter. A good preparation day helps, but a stored vehicle still needs visits to catch damage and new activity.
For UK readers storing a caravan, the same inspection approach applies, with repairs guided by the vehicle’s own manual. In fall (autumn), schedule the work before the final storage trip so you have time to order compatible seals or ask a technician about an unfamiliar opening underneath.
Remove food from every compartment
Empty cupboards, drawers, the refrigerator and exterior storage lockers. Take home dry goods, snacks, pet food and birdseed, including sealed packets you might normally leave between trips. Check under seat cushions, around the dinette and behind removable storage bins for crumbs or a forgotten bag of food.
Clean surfaces and remove rubbish before storage. Follow the appliance instructions for refrigerator cleaning and storage positioning. Remove loose nesting supplies such as spare paper products where practical, and keep remaining belongings organized. You want to see the floor and corners during visits without unpacking a full season of camping equipment.
Inspect underneath and around service entries
From a safe position, inspect plumbing and cable penetrations, utility compartments, door seals and damaged panels. Mice can use openings about 1/4 inch (0.6 cm) wide. Do not crawl beneath an unsupported vehicle or reach around hot equipment. A service appointment is useful when access requires lifting or panel removal.
Identify what each opening does before sealing it. Use durable materials compatible with the surrounding panel and the service passing through it. Suitable mesh or metal barriers can support a repair, but loose packing and foam alone are poor substitutes for a secure closure. Leave fuel, electrical and appliance work to qualified technicians.
| Storage task | What to inspect | Limit or follow-up |
|---|---|---|
| Food removal | Cabinets, seating and outside lockers | Remove supplies rather than relying on packets |
| Entry repairs | Plumbing and cable penetrations | Identify the opening before closing it |
| Exterior covers | Manufacturer-approved mesh options | Preserve required ventilation and drainage |
| Winter visits | New droppings, gnawing and damaged seals | Inspect monthly; check set traps daily |
| Reopening | Waste, nesting material and vehicle damage | Ventilate and wet-clean before use |
Cover exterior openings only where allowed
Check the manufacturer’s guidance for mesh screens or covers at exterior openings. A cover must be intended for that location and preserve required airflow. Do not improvise mesh over a furnace exhaust, combustion-air intake or other appliance opening. Ask the manufacturer or a qualified RV technician when the instructions are unclear.
Inspect the covers during winter visits and record any temporary items that must come off before operation. Rodent prevention must not interfere with ventilation, drains or moving parts. Our vehicle winter-storage guide covers related parking and inspection habits, while the RV manual governs its specific equipment.
Leave a layout that is easy to inspect
Leave interior cabinet doors open where practical after emptying and cleaning them. This makes corners and plumbing routes easier to see. Keep outside compartment doors secured. Make a simple checklist covering kitchen cabinets, under-seat storage, the utility bay and the driver’s area so every visit checks the same places.
Choose a storage location with manageable vegetation and no accessible rubbish or feed nearby. Inspect the ground around the parking space as well as the vehicle. Keep a dated record of fresh signs, repairs and photographs; it gives you a useful comparison when a mark is difficult to interpret later.
Arrange trap checks and monthly visits
Where appropriate, place mouse traps inside along walls near likely routes, following their instructions. Around the RV, use only traps suited to that location and protected from children, pets and wildlife. Ask the storage operator about placement. Arrange daily checks while traps are set, including prompt handling of any catch.
If nobody can check traps daily, ask a pest professional for a monitored plan. A monthly RV inspection does not replace trap checks. Visit at least monthly to inspect seals and new signs, and respond sooner if activity appears. A deterrent cannot replace that follow-up, and ultrasonic sound cannot pass through closed cabinets.
Follow the battery-storage instructions
Consult the RV, battery and equipment manuals before disconnecting power. Confirm which systems need power during storage and how the recommended arrangement affects accessories. If a supporting deterrent is used, secure it in a dry, suitable position and plan its own battery checks. Results vary; maintain the physical exclusion work.
Reopen with a cleanup plan
Use the CDC cleanup steps if you find rodent waste. Open doors and windows for 30 minutes and leave the area. Wear rubber or plastic gloves. Do not sweep or vacuum urine, droppings or nests. Thoroughly wet waste with an EPA-registered disinfectant and wait five minutes or the label time.
Wipe up waste with paper towels into a covered garbage can emptied regularly, then clean surfaces. Spray and soak nests or dead rodents, bag and double-bag them. Wash gloved hands, remove gloves and wash hands with soap and warm water. The closed-up building cleanup guide explains the sequence further.
Heavy infestations need professional cleanup. If you feel unwell after rodent exposure, contact a doctor promptly and describe the exposure. Have chewed wiring, hoses or appliance components checked before using the RV, and review the temporary-cover list before restarting equipment.