Mouse droppings on a pantry shelf or shed floor call for a deliberate cleanup. Pause before reaching for a broom or vacuum. The useful sequence is ventilation, gloves, thorough wetting, contact time and careful removal. Set aside enough time to complete the whole job, including the surrounding hard surfaces and handwashing, rather than clearing only the visible pellets.
Recognise the signs without disturbing them
Mouse droppings are generally small, dark and rice-grain sized; rat droppings are larger. Look from a distance rather than picking up a sample or crushing it. Size offers a starting point for identification, but it cannot establish whether a particular dropping carries germs. Plan the cleanup around the presence of rodent waste rather than a guess about its age.
| Sign | Mouse droppings | Rat droppings |
|---|---|---|
| General size | Small, rice-grain sized | Larger than mouse droppings |
| Appearance | Usually dark pellets | Larger pellets; appearance varies |
| Cleanup approach | Ventilate and wet-clean | Ventilate and wet-clean |
| What appearance cannot show | Which germs are present | Which germs are present |
For the wider identification question, read rats versus mice. Avoid disturbing nearby nesting material while looking. If the attic or crawl space is full of droppings, stop at observation and arrange professional cleanup. The same applies to a heavy infestation elsewhere in the building.
1. Open the space and leave for 30 minutes
Open doors and windows before cleaning, then leave the area for 30 minutes while it airs out. This is a separate preparation stage, before wiping shelves or moving stored objects. During fall (autumn), a shed that has been closed for weeks deserves the same planned approach as an indoor cupboard where you have just noticed mouse signs.
2. Put on gloves and prepare disinfectant
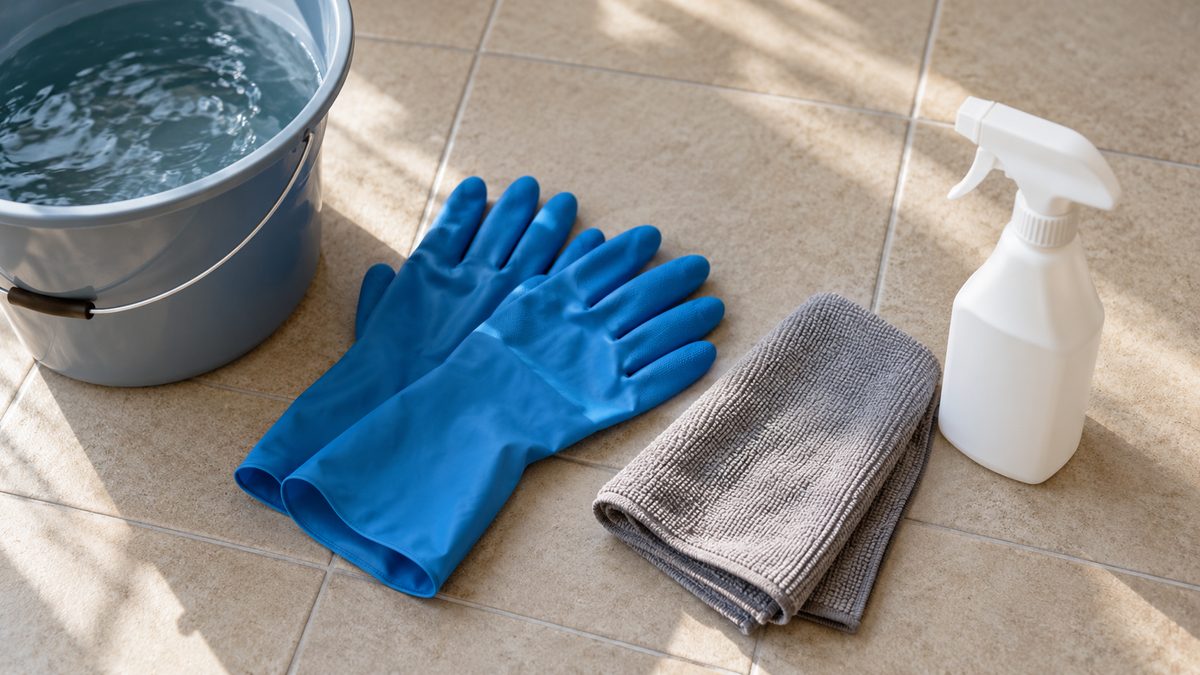
Wear rubber or plastic gloves. Have paper towels, a suitable disinfectant and access to a covered garbage can ready before starting. Follow the CDC rodent cleanup instructions for the full sequence. Read the product label so you know its contact time before applying it to the affected area.
CDC recommends an EPA-registered disinfectant or a freshly made bleach solution. Its bleach recipe is 1.5 cups of bleach per gallon of water, also expressed as one part bleach to nine parts water. Prepare it fresh before use. Choose one suitable cleaning approach and follow its directions throughout the job; do not improvise a stronger mixture to shorten the waiting period.
3. Wet the waste and wait
Spray urine, droppings and nesting material until very wet. Let the disinfectant soak for five minutes or according to its label instructions. Give the liquid its contact time before lifting anything. A quick spray followed immediately by a dry wipe skips that step. Work in a manageable area so that each section can be wetted, timed and removed carefully.
Do not sweep or vacuum the waste. Disturbing contaminated material can put particles into the air. If you have already vacuumed, CDC says to follow the cleanup steps anyway. That means returning to the wet-cleaning sequence for the area, rather than considering the floor finished because the visible pellets have disappeared.
4. Wipe up, discard and clean surfaces
Use paper towels to pick up the wetted droppings, urine and cleaning liquid. Put the used towels in a covered garbage can that is emptied regularly. Then mop or wipe the affected hard surfaces with disinfectant. Include the surrounding shelf, drawer or floor rather than stopping at the exact spots where the pellets were lying.
Dead rodents and nests have an additional disposal step: spray them and the surrounding area, allow the soaking time, place them in a bag, seal it and put that bag inside a second sealed bag. Dispose of the double-bagged material in a covered garbage can emptied regularly. Keep gloves on through handling and disposal.
5. Finish with handwashing and a prevention check
Wash your gloved hands before removing the gloves, then wash bare hands with soap and warm water. Finish that sequence before returning to normal household tasks. After cleanup, identify and seal the entry points that allowed mice inside. Our guide to how mice get into houses helps organise that inspection around accessible openings.
Heavy infestations require additional precautions, including disposable coveralls, boots or shoe covers, goggles and a respirator with a HEPA filter. Arrange professional cleanup for that situation, especially an attic or crawl space full of waste. This equipment list is a reason to seek suitable help rather than treat extensive contamination as an ordinary quick household clean.
If you feel unwell after rodent exposure, contact a doctor promptly and tell them about the exposure. Keep that information separate from assumptions about what the droppings looked like. Cleanup deals with contaminated material; a doctor is the appropriate person to assess illness following the exposure.